To connect to the Eduroam network Microsoft Windows 7 needs to be upgraded with an updated SecureW2 client (eduroam_client) that provides support for the EAP-TTLS security standard.
Before you install the client for the wireless Eduroam network, update your computer’s wireless network card drivers. After installation do not change the client’s settings. Doing so may compromise your computer’s security level.
We do not recommend setting up a client that is not adapted to the Eduroam network manually.
The data used in the example below is fictional so replace it with your own during the installation process.
Procedure:
First you need to transfer the eduroam_client on to your computer. It can be found on the Arnes’ ftp server . You can do this by using a web browser (in our example we used Mozilla Firefox).
The window below opens:
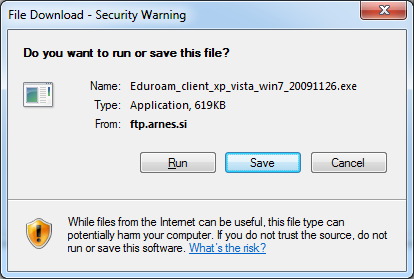
In the instructions the name of the file ends with the date 20091126 . In our case the date will probably be more recent. Click the ![]() button.
button.
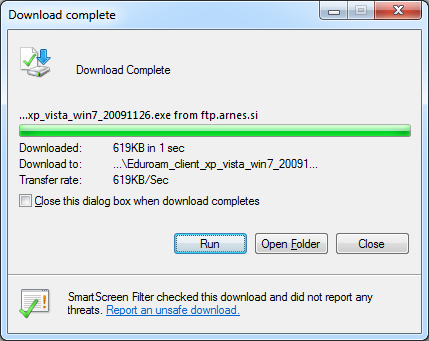
The Downloads window opens, choose the ![]() option.
option.
In case the User Account Control window opens the client needs to be installed by clicking the Allow button (it is an executable file).

The Eduroam client installation procedure begins. Choose the Geslo shrani (Save password) or Za geslo vprasaj ob vsaki povezavi (Prompt for credentials) option and then click the ![]() button.
button.
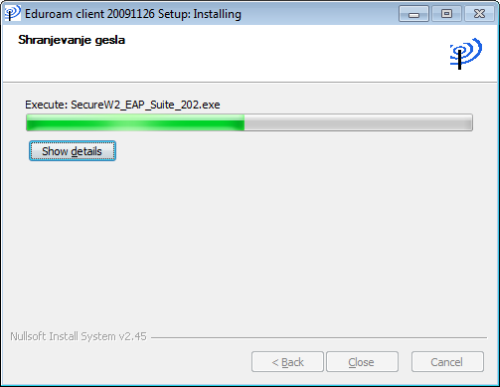
The installation of the client will begin.
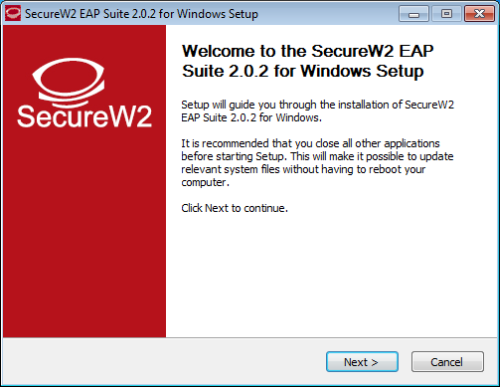
The SecureW2 EAP Suite 2.0.2 for Windows client for Windows 7 installation procedure will begin. Click the ![]() button.
button.
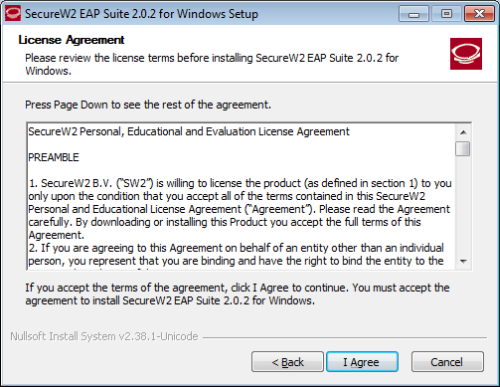
Read the License Agreement then click the ![]() button.
button.
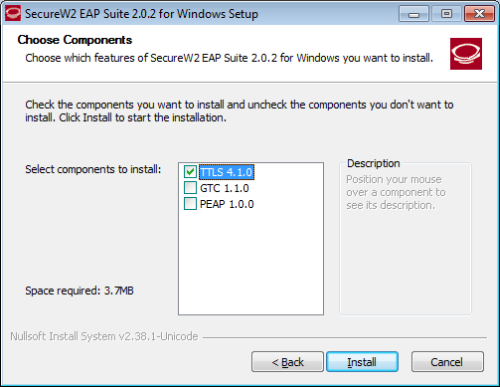
To install SecureW2 EAP Suite 2.0.2 be sure to check TTLS 4.1.0 and click the ![]() button.
button.
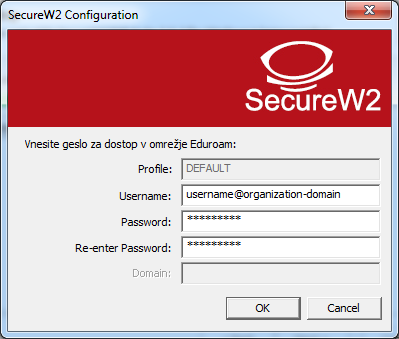
To access the Eduroam network you will need to enter your creadentials . Enter your username in to the Username box then enter your password in to the Password and Re-enter Password boxes. Confirm the settings by clicking the ![]() button.
button.
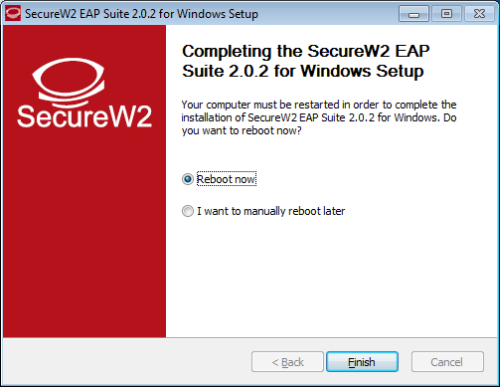
To complete the installation of the client choose the Reboot now option and click the ![]() button. The computer will reboot.
button. The computer will reboot.
After rebooting go to Start > Control Panel > Network and Sharing center . Choose the Manage wireless networks option.

Click the ![]() button.
button.

Choose the option “Manually create a network profile“.
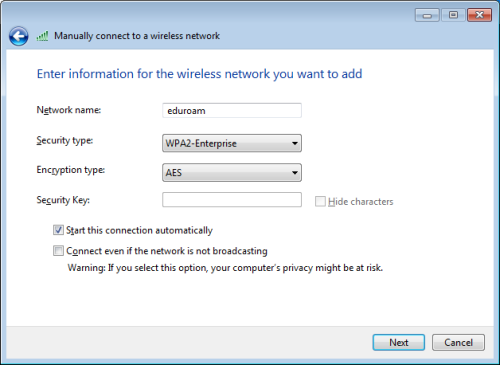
For Network name type “eduroam“, for Security type choose “WPA2-Enterprise” and for Encryption type select “AES”.
Confirm selection by clicking the ![]() button.
button.
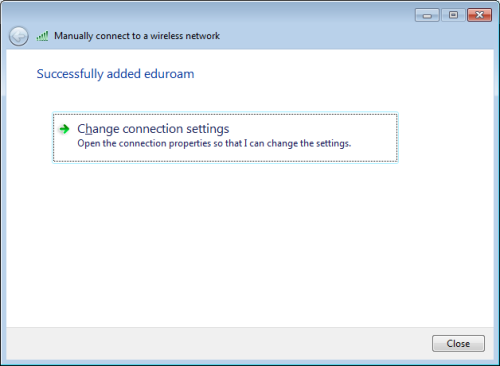
Adding the eduroam wireless network profile to your computer is almost completed, there are some settings you have to change, therefore click the “Change connection settings” option.
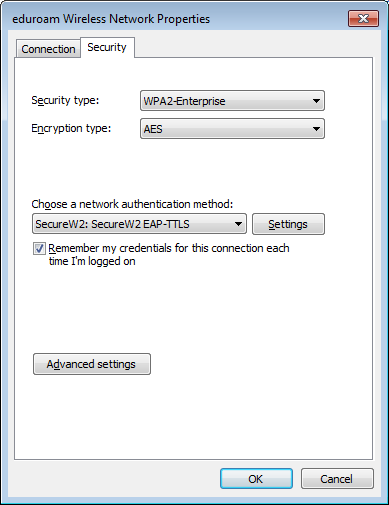
The Eduroam wireless network properties will open. Choose the Security tab. Under Security type choose the WPA2-Enterprise option and under Encryption type choose the AES option. As a network authentication method choose SecureW2 EAP-TTLS and click the ![]() button.
button.
In an event of User Account Control popup window click Allow.
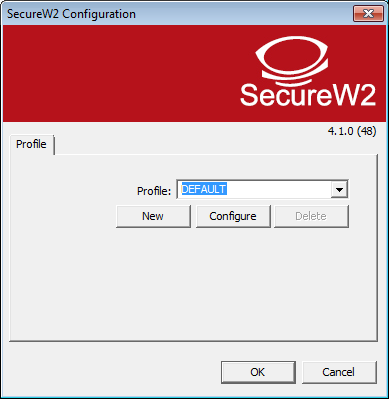
No other settings are required.
Close the window by clicking the ![]() button.
button.
Close “eduroam Wireless network Properties” window by clicking the ![]() button.
button.
Close “Manually connect to a wireless network” window by clicking the ![]() button.
button.
The setup of eduroam connection is completed. If all steps were properly set, the connection will be established automatically.
